Freestanding Stick-Vacuum Stands for Rental Apartments: What to Check Before You Buy
Quick Answer
A freestanding stick-vacuum stand can give renters a place to park an existing cordless vacuum without drilling into a wall. But the right purchase is not simply the stand that looks neatest in a product photo. First confirm that your exact vacuum and its original dock or charging bracket can attach as intended. Then measure the vacuum while stored, including the head, handle, cable and accessories. Finally, check whether you can lift the vacuum off and return it comfortably in the space you actually have. Neither a freestanding design nor a product listing alone proves universal compatibility or stability.
1. Why a Freestanding Vacuum Stand Can Make Sense for Renters
A wall-mounted dock can be awkward in an apartment where drilling is restricted or a permanent installation is undesirable. A freestanding stand offers a potentially removable storage arrangement: the support sits on the floor instead of relying on a newly drilled wall attachment. That can simplify moving between rooms or homes. It does not eliminate every constraint, however. A floor-standing base occupies usable space, and the assembled vacuum may extend beyond the base in several directions. Some stands also rely on the vacuum’s original mounting bracket, which may need to be attached to the stand. Read the product instructions before assuming the setup is tool-free or that a charger is supplied. For a renter, the useful question is whether the entire storage arrangement works without modifying the apartment.
2. Check Your Vacuum and Dock Compatibility First
Write down the exact vacuum model number, not just the brand. Check the original wall dock, charging bracket or holder supplied with your vacuum and identify how it attaches. A stand may support certain brackets while leaving others unsupported, even within the same vacuum family. Compare the stand’s published compatibility information and assembly instructions against the model and bracket you own. If the listing is ambiguous, seek a model-specific confirmation before buying. Do not assume that a photograph of a similar vacuum proves your version will fit. Also distinguish mechanical storage from charging: a stand may provide a place for the original charging dock but does not necessarily include that dock, a charger or an electrical connection.
3. Measure the Full Loaded Storage Envelope
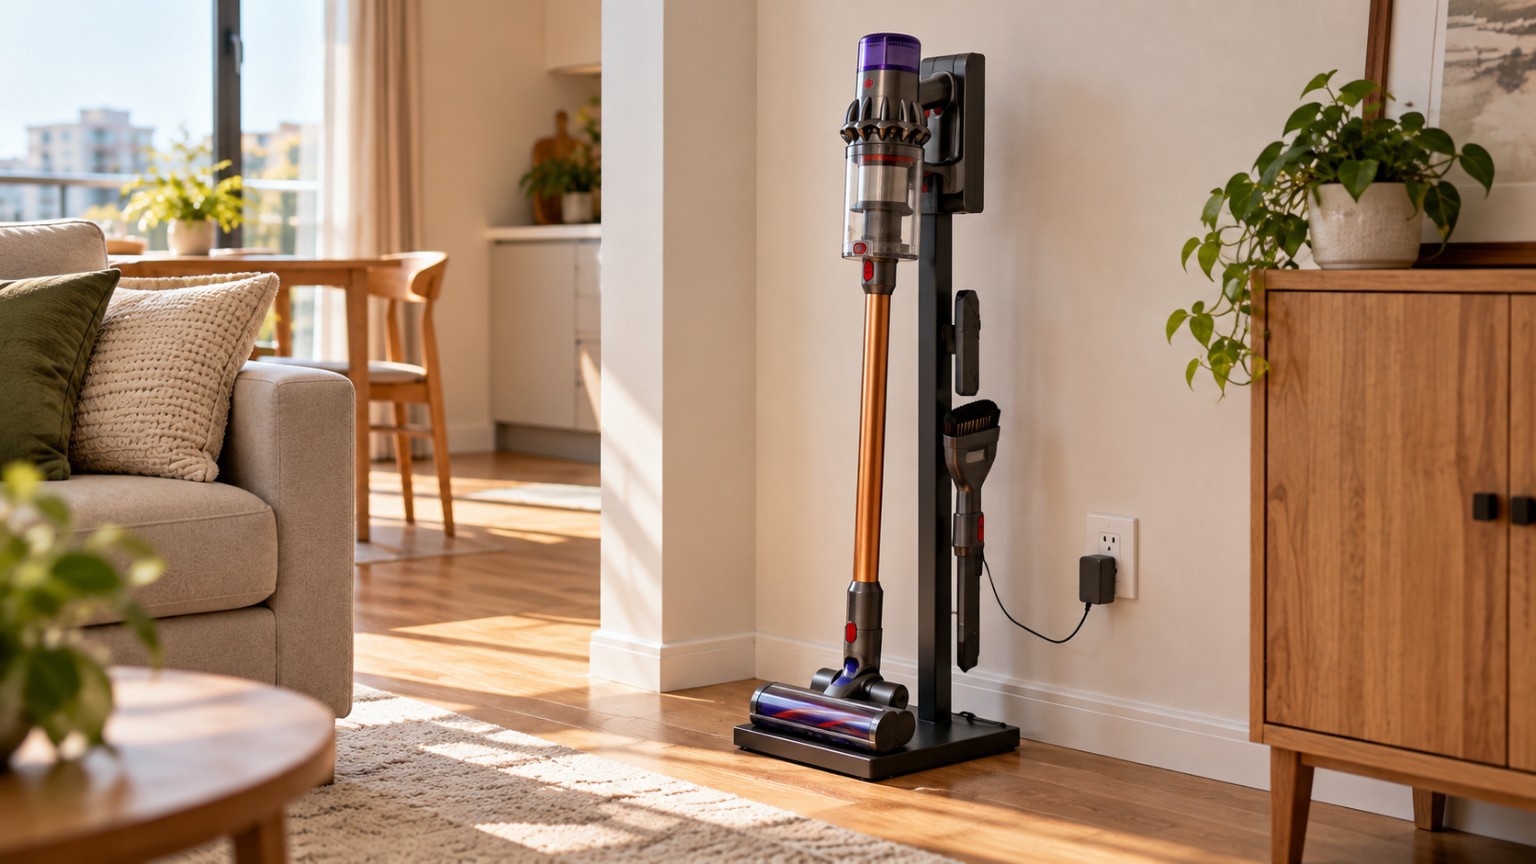
Measure more than the stand’s bare base. The loaded storage envelope is the real space taken by the stand with your vacuum, floor head, charging bracket and accessories in place. Record the maximum front-to-back depth and side-to-side width, including any projecting nozzle or holder. Allow room behind the upright for a plug and cable bend, if relevant. Mark the footprint on the floor with removable tape or paper, then simulate walking past it. A base that fits between furniture may still fail when the vacuum head projects into a doorway. Product dimensions can guide a shortlist, but your assembled configuration determines the final fit.
4. Check Height and Overhead Clearance
Measure from the floor to the highest point of the vacuum in its parked position. Include the handle, any dock position and the clearance needed to lift the vacuum free. This matters under shelving, inside closets and near low window ledges. If a stand offers height adjustment, verify its stated adjustment range in the actual product documentation rather than guessing from pictures. In particular, the height adjustment range for the VEVOR D15 is not verified in the locked research and should remain unknown here. Avoid choosing a stand on an assumed height range. A usable storage position also needs enough vertical room for your hand and the removal motion.
5. Plan Charging and Cable Route
If your vacuum charges through its original bracket, confirm where that bracket mounts on the stand and whether the charging contacts can meet correctly. Check whether the original charger and cable reach the nearest outlet without crossing a walking route. A cable that technically reaches may still create an inconvenient daily setup if it must stretch around a doorway or furniture edge. Plan where excess cord can sit without obstructing access or creating a snag point. Keep the distinction clear: a stand that holds a charging bracket is not automatically a charger. Unless the locked source explicitly states otherwise, treat the dock and charger as separate components that you may need to supply.
6. VEVOR D17 vs. VEVOR D15: Practical Roles
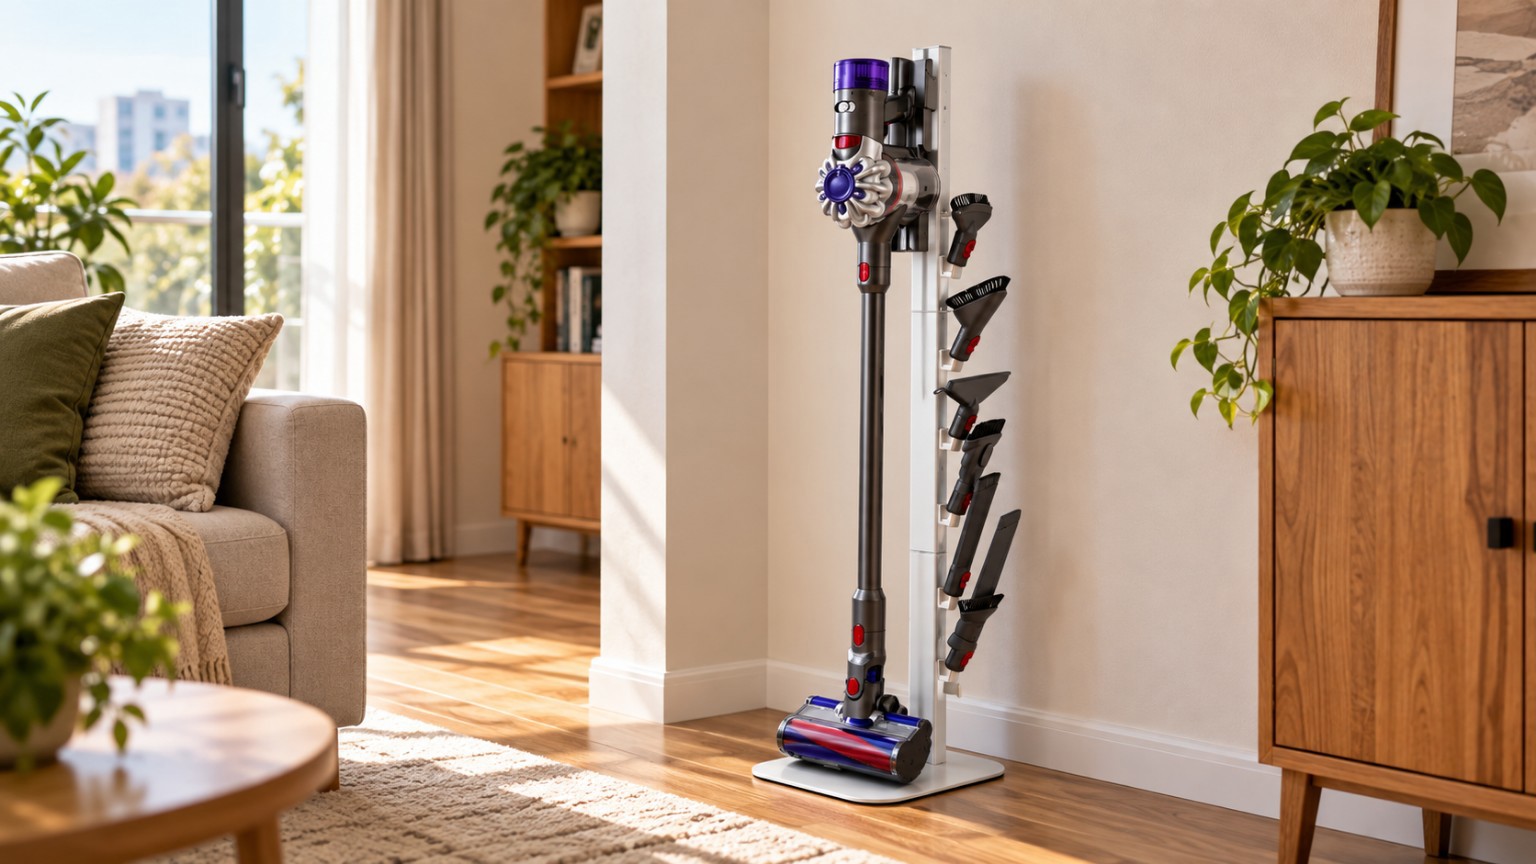
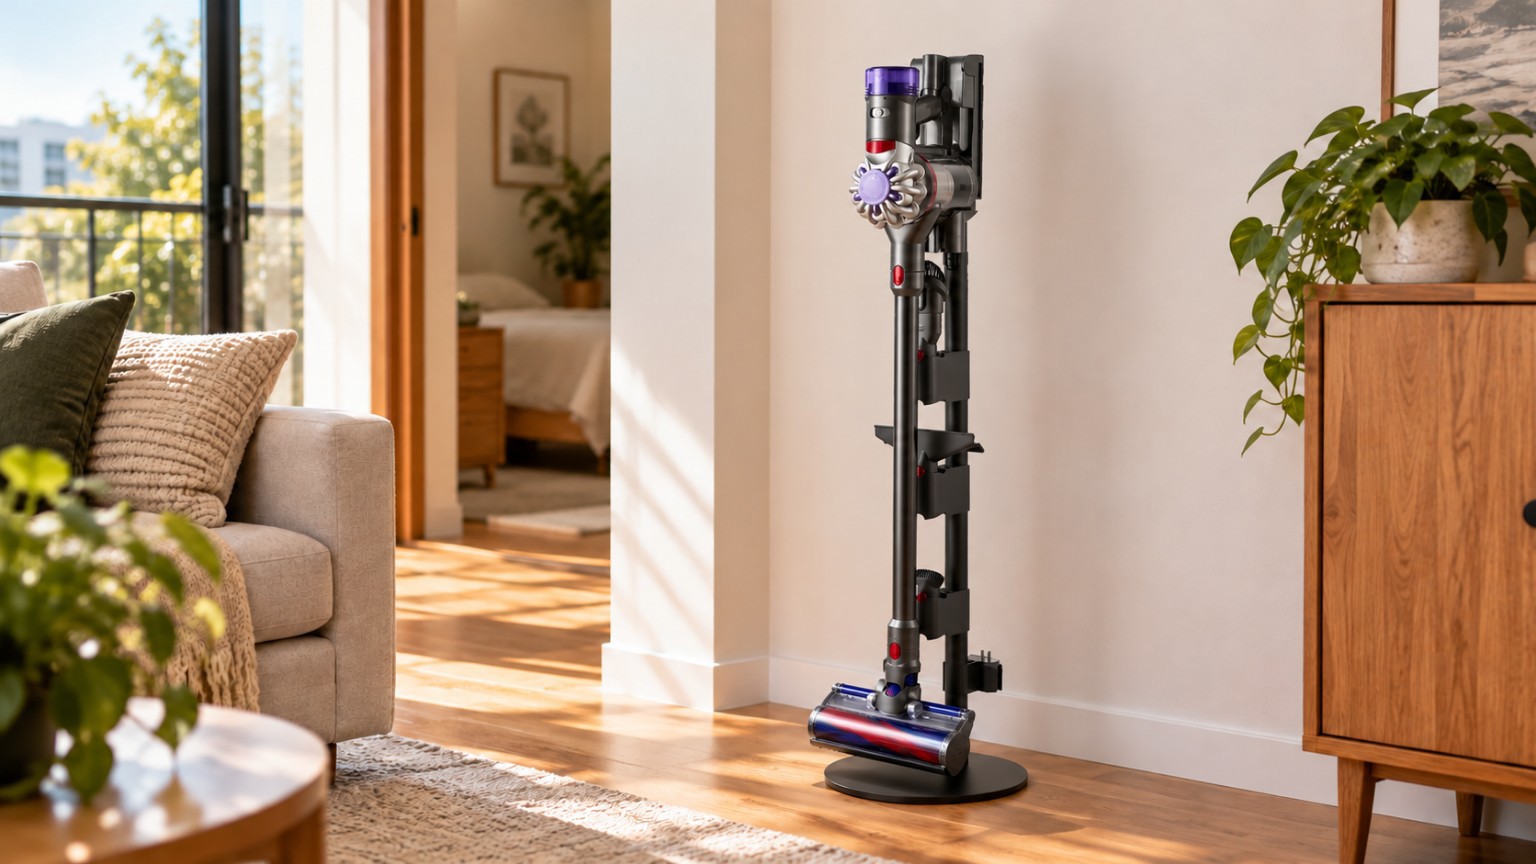
The two locked product examples are the VEVOR D17 (SKU XCQZJDSLSBYGSNQ90V0) and VEVOR D15 (SKU XCQZJDSLSYGDQQ2GEV0). They are examples of freestanding storage form factors, not a ranked pair and not a recommendation that one is universally better. Evaluate the D17 against your vacuum’s precise bracket interface, the stand’s published assembled dimensions and the way you remove the vacuum. Apply the same checks independently to the D15. The D15 height adjustment range is unknown in the available locked evidence; do not assign it a number or infer a greater adjustment range from appearance. Neither product should be described as compatible with all vacuums, docks, accessories or chargers. The decision between them turns on documented fit for your equipment and your room, not a generic winner label.
7. Check Accessory Storage and Daily Removal
Accessory holders can be useful only when they fit what you own and do not interfere with your routine. List the attachments you actually use: a crevice tool, brush, extension or other supplied accessory. Compare their shapes and mounting points with any holder shown in the stand documentation. Then rehearse the removal path: can you grip the handle, release the vacuum from the bracket and move the floor head away without hitting a shelf or door? Repeat the thought experiment in reverse for putting it back after cleaning. A stand can look compact when empty yet feel awkward when fully loaded. A practical daily workflow matters more than a tidy marketing image.
8. Check Floor Footprint and Room Clearance
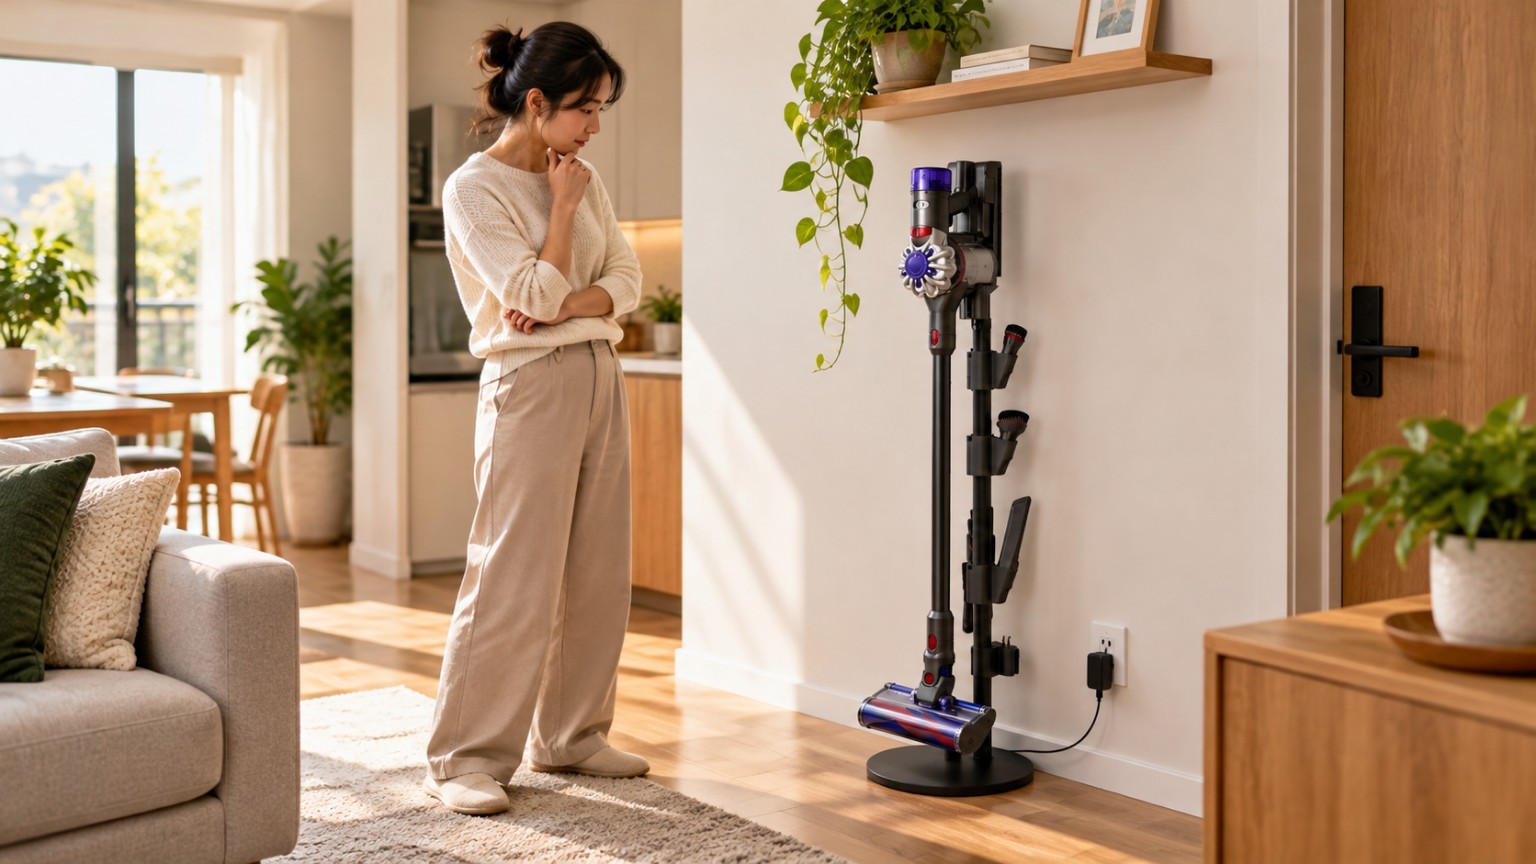
Consider the surface beneath the stand as well as the stand itself. Uneven flooring, thick carpet, thresholds and sloping areas may change how a particular setup sits. Confirm that the base can rest where intended and that the vacuum’s weight and geometry are appropriate for the specific configuration; do not treat a freestanding design as proof that it cannot tip. Keep doors, cabinet drawers, ventilation openings and regular walking paths clear. If the stand is near a wall, allow space for cables and for the vacuum to be lifted without scraping adjacent surfaces. No general promise of damage-free floors, universal stability or safety for every vacuum model is supported.
9. What to Check Before Buying
Before checkout, assemble a short fit sheet with your exact vacuum model and original bracket type. Confirm the stand’s documented compatibility and identify any required hardware that is not included. Measure the complete loaded width, depth and height, not merely the empty stand. Check the available floor area, overhead clearance and the path used to remove the vacuum. Verify outlet distance and cable routing if charging is part of your setup. Finally, review accessory positions and the floor surface where the stand will sit. If any essential measurement or compatibility statement remains unknown, pause the purchase and ask for specific evidence rather than filling the gap with assumptions. These checks apply equally to the D17 and D15.
Bottom Line
A freestanding stand can be a sensible renter-friendly storage option when it fits the vacuum you already own and the space you use every day. Start with model-specific dock compatibility, then confirm the fully loaded dimensions, charging route, accessory arrangement and removal clearance. The VEVOR D17 and D15 are two locked examples to evaluate against those same criteria; neither is a universal winner. Buy for verified fit and a workable routine, not for unsupported promises of universal compatibility, tip-proof performance or guaranteed floor protection.